You Can’t Cheat Math: How I Actually Shrink Images in 2026
Last Tuesday I was doom-scrolling Reddit instead of fixing a client’s broken CSS, and I stumbled on a thread that made me facepalm. Someone asked, “How do I reduce the file size of an image without losing quality?” The comments were a dumpster fire of half-truths.
After six years of hand-optimizing hero banners, product galleries, and that one client who insisted on uploading 40MB TIFFs to WordPress, I can tell you exactly where that Reddit thread went wrong — and what actually works in 2026.
Let’s Get One Thing Straight: You Can’t Cheat Math
Here’s the uncomfortable truth nobody wants to hear: you cannot dramatically shrink a file without removing data. It’s not a software limitation. It’s information theory.
Digital images are made of pixels. Pixels contain data. If you want the file to be smaller, you have two options:
- Lossless compression (PNG, TIFF, RAW) — like zipping a folder. Saves 20–40% space. Every pixel returns exactly as it was.
- Lossy compression (JPEG, WebP, AVIF) — throws away data your eyes probably won’t miss. Saves 60–90%.
When someone asks how to reduce image file size without losing quality, what they usually mean is “how do I make this smaller without it looking worse to my eyes?” That’s a totally different question — and it has a real answer.
What Actually Worked for Me in 2026
If you’re managing a website, running an online store, or just trying to email product photos without crashing Gmail, here’s my actual workflow. No theory. Just what I do every Monday.
Step 1: Stop Using PNG for Photographs
I still see this daily. Someone uploads a beautiful 4K product shot as a PNG and wonders why their Shopify store loads like it’s on dial-up.
PNG is for graphics. Sharp edges. Text. Screenshots. Logos with transparency. If your image came out of a camera, save it as WebP or a high-quality JPEG. Export at 85% quality in Photoshop or 80 in Squoosh. Visually identical. File size? Usually 70% smaller.
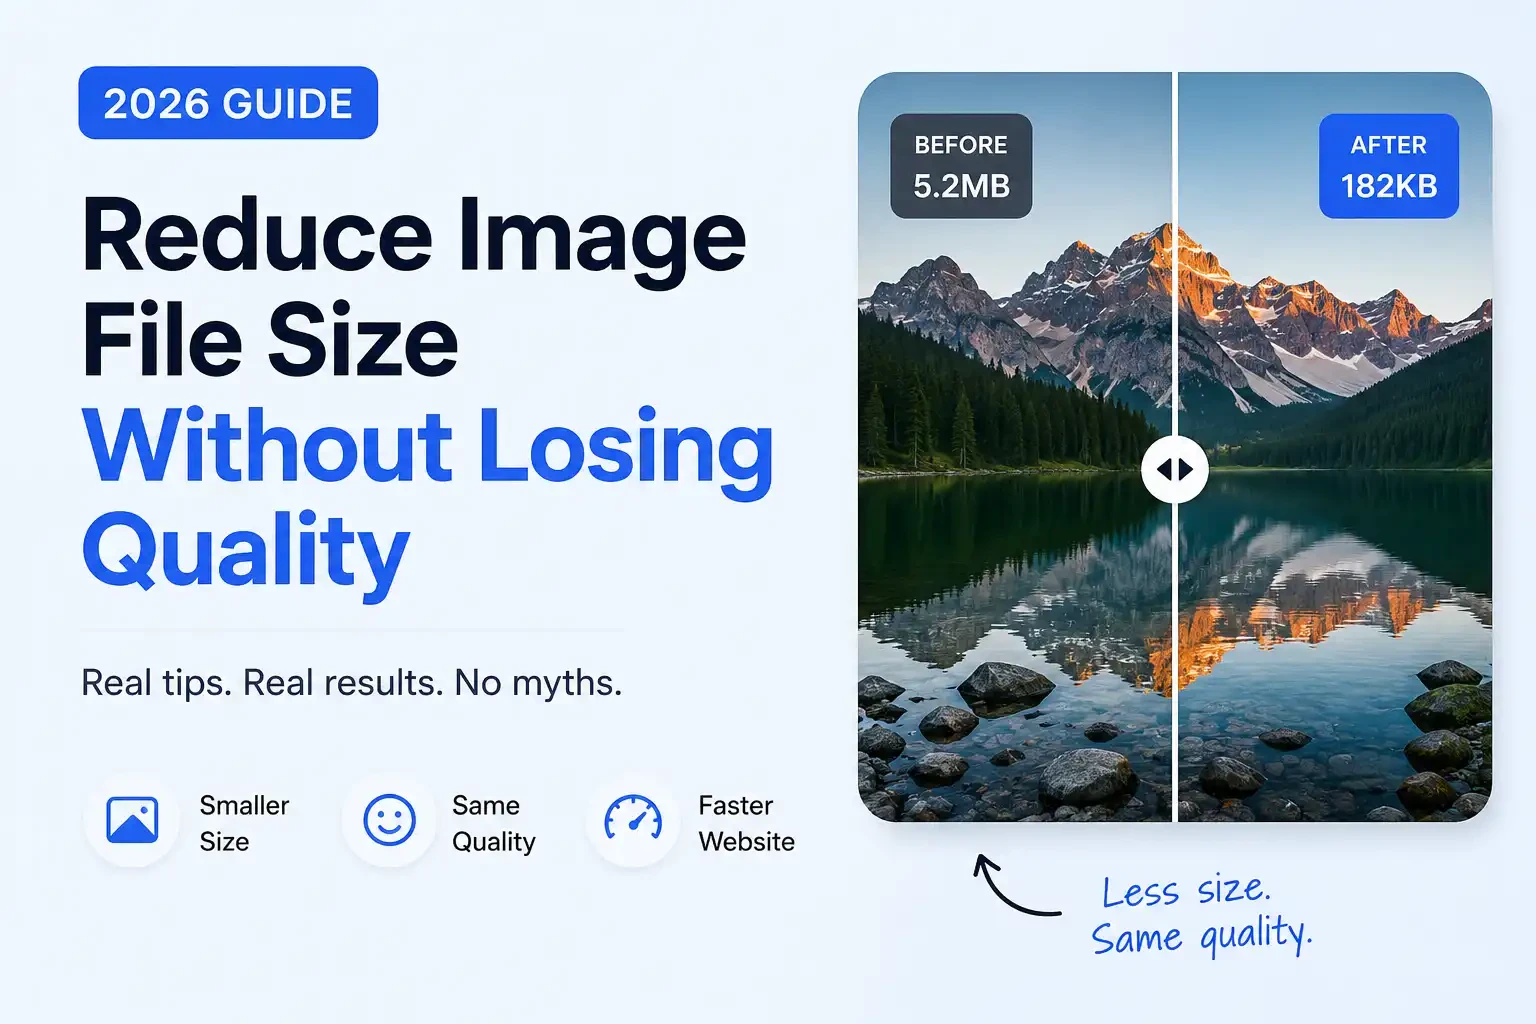
A client’s “About Us” banner was a 6.2MB PNG. Converted to WebP at 85% quality: 340KB. Nobody could tell the difference side-by-side. Their Google PageSpeed score sure did, though.
Step 2: WebP Is the Default Now. AVIF Is the Future.
In 2026, if your site isn’t serving WebP to modern browsers, you’re leaving free performance on the table. Every major browser supports it. WordPress handles it natively now.
AVIF is even more aggressive — smaller files than WebP at the same visual quality — but support is still patchy enough that I only use it with fallback logic. If you’re technical, serve AVIF to supporting browsers and WebP to everyone else. If you’re not technical, just use WebP and call it a win.
Step 3: Resize Before You Compress
This is the mistake I see even smart developers make. They take a 6000×4000 pixel image straight from their DSLR, compress it slightly, and upload it. The file is still 3MB because it’s physically massive.
Your website probably displays that image at 1200px wide max. Resize first, then compress. My rule of thumb: double the display size for retina screens, then stop. If your container is 800px, your image doesn’t need to be 5000px.
The Tools I Actually Use (Free & Paid)
- ImageResizerAI.com — Free, browser-based, client-side processing. Perfect for quick compresses without uploading to a server.
- Squoosh.app — Lets you drag a slider and see before/after in real time. Great for learning what “85% quality” actually looks like.
- ImageOptim (Mac) — Drop a folder, it losslessly crushes PNGs and strips metadata. I run every screenshot through this.
- ShortPixel — My WordPress safety net. Automatically converts uploads to WebP. Not free, but pays for itself in bandwidth.
I don’t use random “online image compressors” with ads anymore. Too many re-encode already-compressed JPEGs, adding artifacts like a photocopy of a photocopy.
The Reddit Mistakes You Should Avoid
Let’s circle back to that thread, because those comments represent myths I still fight monthly:
Myth 1: “Just use lossless compression tools.”
Sure, if you want to shave 15% off a 2MB file. But if you need a 50KB thumbnail for a mobile menu, lossless won’t get you there. It’s like emptying a swimming pool with a teacup.
Myth 2: “Convert PNG to JPEG.”
Dangerous without context. JPEG murders text and sharp edges. I once saw a developer convert a pricing table screenshot to JPEG to “save space.” The dollar signs turned into fuzzy gray smudges. Client was not amused.
Myth 3: “Save as WebP, then convert back to PNG.”
This physically hurts. WebP (in lossy mode) discards data. PNG cannot magically recreate it. Converting WebP → PNG gives you a bloated file with worse quality than starting with a proper PNG export. Don’t do it.
The “Good Enough” Quality Checklist for 2026
After years of pixel-peeping, I’ve stopped chasing perfection and started chasing “nobody notices.” Here’s my checklist:
- [ ] Is this a photo? → WebP or JPEG at 80–90% quality
- [ ] Is this a graphic, logo, or screenshot? → PNG or lossless WebP
- [ ] Is this an icon or illustration? → SVG (vector, often under 5KB)
- [ ] Did I resize to actual display dimensions (×2 for retina)?
- [ ] Did I strip EXIF metadata? (Nobody needs GPS coordinates on a hero banner)
- [ ] Do I have a fallback for older browsers if using next-gen formats?
Hero image: Reduce image under 200KB | Blog image: Reduce image size to 100 KB | Thumbnail: Reduce under 50KB | Email attachment total: under 1MB
Bottom Line
If you came here looking for a magic button that turns a 10MB RAW file into a 50KB web graphic with zero changes — I’m sorry. It doesn’t exist. The laws of physics are stubborn like that.
But if you want to reduce image file size in a way that looks flawless to your visitors, loads in under a second, and doesn’t require a computer science degree? That’s absolutely doable.
Stop asking “how do I compress without losing quality?” Start asking “what’s the smallest file size where my audience can’t see the difference?”
That shift in thinking changed my workflow. It’ll change yours too.
Try Free Image Compression
Compress images instantly — no uploads to shady servers, no watermarks, just fast, client-side processing.
Compress Image Now