English
How to Resize Any Image to an Exact File Size: The Complete Guide
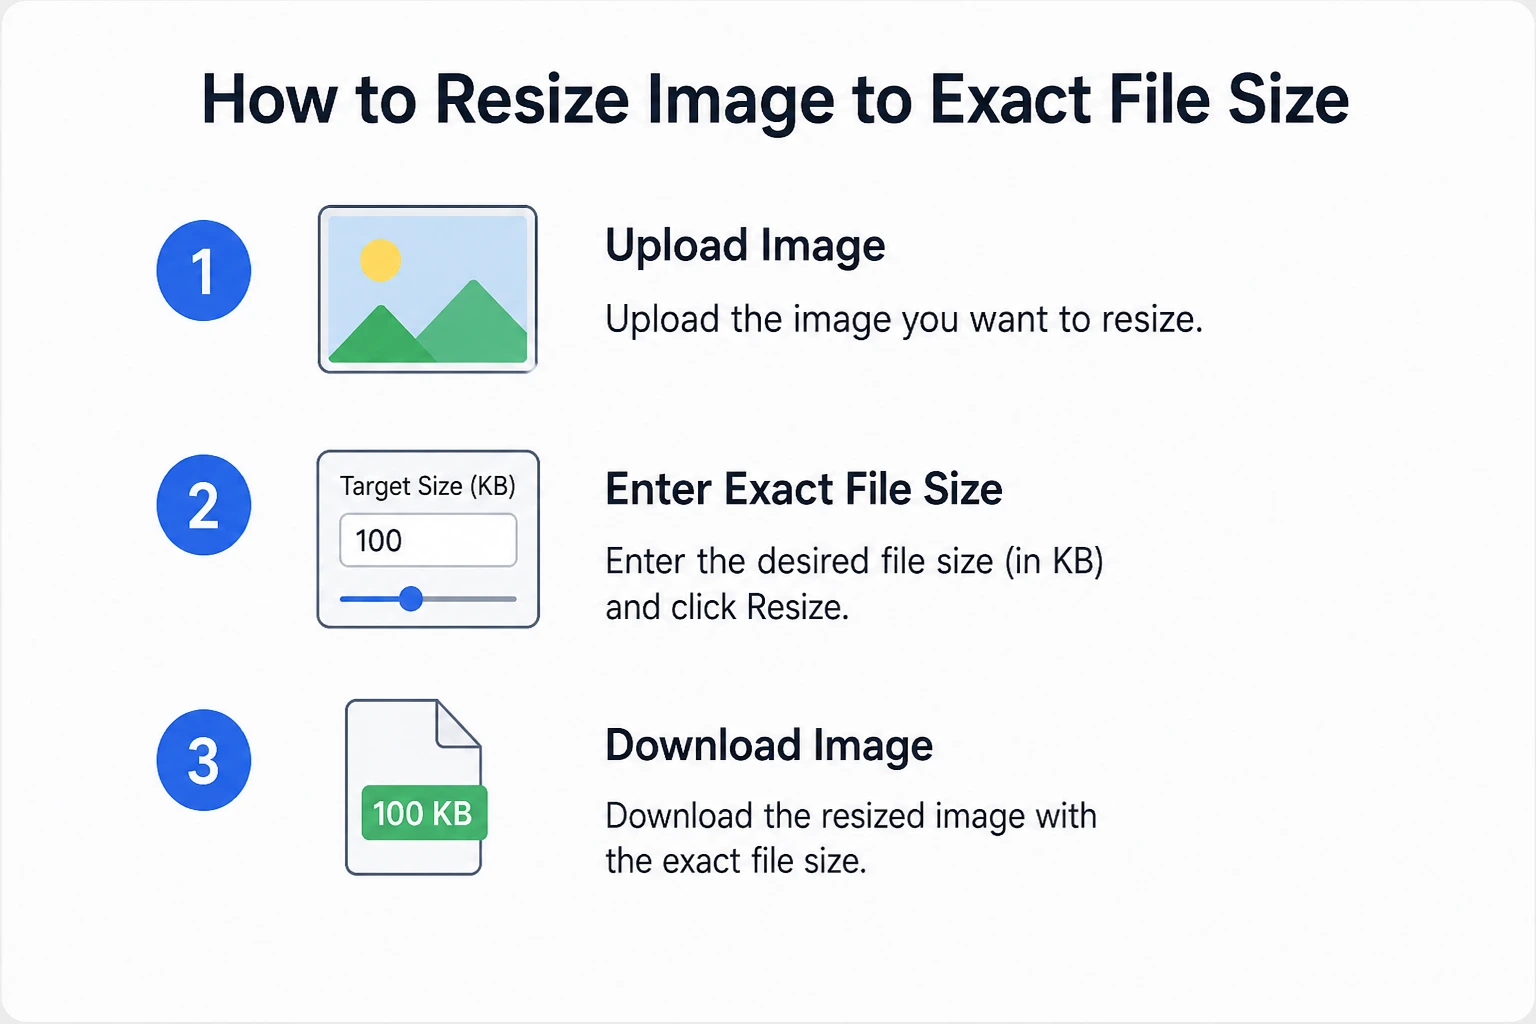
Hitting a precise file size limit isn't about guesswork. Here's how to nail 2KB, 50KB, 500KB, 5MB, or any target on the first try.
Every platform wants something different. A government portal rejects your passport photo at 52KB because the limit is 50KB. Your e-commerce CMS throws an error at 10.2MB when the cap is 10MB. Your portfolio host accepts 2MB images, but you uploaded a 14MB RAW export.
Most compression guides teach you how to make files "smaller." That's useless when you need to hit an exact ceiling not just "smaller than before."
This guide covers every target file size from 2KB to 10MB, explains which tool to use and why, and shows you how compression actually works so you can make informed trade-offs instead of crossing your fingers.
1. What "Resize to a Specific File Size" Actually Means
Quick answer: When a form says "maximum 5MB," it means the file's byte count not its pixel dimensions must be 5,242,880 bytes. A 4000x3000 pixel image can be 2MB. A 1500x1000 pixel PNG screenshot can be 8MB. File size and image dimensions are independent properties.
File size = storage bytes (KB, MB). Image dimensions = pixel width x height (px). You can shrink file size without touching dimensions by adjusting compression quality, changing formats, or stripping metadata. You usually only need one or two of these levers.
Here's what actually determines how big an image file is:
| Factor | Impact on File Size | When to Adjust |
|---|---|---|
| Compression quality | Largest lever for photos | First choice for most targets |
| Pixel dimensions | Linear scaling (4x pixels = 4x bytes) | Use when quality alone won't reach target |
| File format | PNG is 3-5x larger than JPG for photos; WebP is 25-30% smaller than JPG | Switch formats when quality loss is unacceptable at target size |
| Color depth/bit depth | 8-bit vs 24-bit vs 32-bit | Relevant for PNGs and graphics |
| Metadata (EXIF) | 2KB-50KB+ per file | Strip always-no visual cost |
| Color profile | 1KB-5KB | Keep sRGB for web; strip others |
2. Why Platforms Impose Different Limits
Government portals, dating apps, and print shops don't arbitrarily pick numbers. The limits reflect their infrastructure, security policies, and use cases.
KB-range limits (2KB-500KB) exist because:
- Government servers process millions of uploads daily; small files reduce storage and bandwidth costs.
- ID verification systems often run OCR and facial recognition on uploaded photos; smaller files process faster.
- Some legacy systems still run on constrained infrastructure with hard file size caps in their database schemas.
MB-range limits (1MB-10MB) exist because:
- E-commerce platforms need zoomable product photos but can't host unlimited storage per seller.
- Portfolio sites balance quality with CDN costs.
- Print services need enough resolution for 300 DPI output but don't want users uploading 50MB RAW files.
The format requirement matters too. Government portals almost always demand JPG because the format is universally readable by their verification software. E-commerce platforms increasingly accept WebP because it cuts their bandwidth costs. Print shops want TIFF or high-quality PNG because they can't afford compression artifacts in final output.
3. Small File Size Tools: 2KB to 50KB
These targets are the most demanding. You're not just compressing you're fitting detailed visual information into a space smaller than most email headers. Quality loss is inevitable, but you can control where it happens.
When You Need These Targets:
- Passport and visa photos: Indian government portals often require 20KB-50KB. UK visa applications typically specify 50KB-600KB. US DS-160 forms accept up to 240KB.
- Online exam registrations: Many Indian university entrance exams (JEE, NEET, CUET) cap uploads at 50KB-80KB for candidate photographs.
- Digital signatures and certificates: DSC applications in India frequently require signature images under 10KB-30KB.
- ID card photos: Employee ID systems and student ID portals often enforce 20KB-40KB limits.
- Admit cards and application forms: Government recruitment portals (SSC, UPSC, banking exams) typically require photographs between 20KB and 50KB and signatures between 10KB and 20KB.
The Tools and When to Use Them:
- Resize Image to 2KB: This is extreme compression. At 2KB, you're looking at roughly 100x100 pixels in JPG format, or a heavily quantized 150x150 image. Use this only when a system explicitly demands it (some legacy government forms still do). The tool uses aggressive chroma subsampling and quantization to reach this target. Expect visible blockiness, but the image will still be recognizable at thumbnail size.
- Resize Image to 10KB: Slightly more breathing room. A 10KB JPG can hold a 200x250 pixel passport-style photo with moderate quality. This is common for digital signature uploads and small profile images. The tool optimizes by reducing color information more than luminance detail-human eyes are less sensitive to color loss than brightness loss, so this preserves a sharper appearance than uniform compression would.
- Resize Image to 20KB: The sweet spot for many government applications. A 20KB JPG can deliver a 300x400 pixel image that's acceptable for ID verification. If your starting image is a 2MB smartphone photo, the tool will downscale dimensions and compress quality to hit this target efficiently.
- Resize Image to 30KB: Use this when the form says "between 20KB and 50KB" and you want to land safely in the middle. A 30KB file gives the compression algorithm more room to preserve facial detail in passport photos compared to targeting the absolute minimum.
- Resize Image to 40KB: Ideal for admit card photos and online application forms where the upper limit is 50KB but you want a buffer. At 40KB, a 400x500 pixel JPG retains enough quality for OCR systems to read text overlays (like application numbers printed on photo templates).
- Resize Image to 50KB: The most common government portal requirement. Indian PAN card applications, passport renewals, and most state government services use this ceiling. At 50KB, you can typically preserve a 600x800 pixel image with acceptable quality for document verification. If your original is already under 50KB, the tool will notify you that no compression is needed.
Pro tip for government uploads: Always check whether the portal specifies exact dimensions and file size. If a form asks for "200x230 pixels, 20KB-50KB," resize to the exact pixel dimensions first, then compress to file size. Doing both simultaneously often produces better results than compressing a full-resolution image down to 20KB.
4. Medium File Size Tools: 100KB to 950KB
This range covers the majority of web uploads. It's where quality and size find their balance you're compressing enough to speed up loading, but not so much that detail disappears.
When You Need These Targets:
- Email attachments: Most email clients (Gmail, Outlook) warn at 25MB total, but individual attachments under 1MB send reliably even on slow connections.
- Blog and CMS uploads: WordPress, Medium, and Substack optimize images automatically, but starting with a 300KB-500KB file gives their systems better source material than a 5MB original.
- Social media: LinkedIn article images, Twitter/X headers, and Facebook post images all perform better when uploaded under 1MB-the platforms recompress everything anyway, and starting smaller reduces their compression artifacts.
- E-commerce thumbnails: Amazon, Etsy, and Shopify recommend main images under 1MB for faster loading; zoom images can be larger.
- Portfolio sites: Behance, Dribbble, and personal portfolio hosts often cap uploads at 500KB-1MB for gallery images.
- Profile pictures: Corporate directories, Slack, and professional networks rarely need more than 300KB for a 400x400 avatar.
The Tools and When to Use Them:
- Resize Image to 100KB: Perfect for email signatures and small web graphics. A 100KB JPG can hold an 800x600 photo with minimal visible loss, or a 1200x900 image with slight softening. If you're embedding images in email campaigns, this size loads instantly even on mobile data.
- Resize Image to 150KB: Use this for blog post featured images where page speed matters. At 150KB, a 1200x800 pixel JPG retains enough quality for full-width headers while keeping Lighthouse performance scores high.
- Resize Image to 200KB: The standard for CMS uploads. WordPress automatically creates thumbnails, but your original upload should be under 200KB if you're running a media-heavy site on shared hosting. This target also works well for e-commerce product thumbnails.
- Resize Image to 250KB: Ideal for portfolio gallery images where you want visitors to see detail without waiting. A 250KB JPG at 1400x900 pixels looks sharp on Retina displays and loads in under 200ms on 4G connections.
- Resize Image to 300KB: If your university accepts files up to 300KB for assignment submissions, this tool hits the mark precisely. It's also the right choice for LinkedIn article cover images-large enough for visual impact, small enough that the platform won't aggressively recompress it.
- Resize Image to 350KB: Use this when a platform's limit is 500KB but you want headroom. Some university portals and job application systems specify "under 500KB" but their upload scripts fail at 480KB due to JavaScript rounding errors. Targeting 350KB avoids these edge cases.
- Resize Image to 400KB: Great for high-resolution profile pictures and team photos. At 400KB, a 1600x1600 pixel image retains enough detail for professional headshots while meeting most directory upload limits.
- Resize Image to 450KB: A safe target for "under 500KB" requirements. Use this for academic submissions, grant applications, and professional portfolio PDFs where embedded images must stay within limits.
- Resize Image to 500KB: The most common medium-range ceiling. Social media avatars, blog images, and CMS uploads frequently use this limit. At 500KB, you can preserve a 1920x1080 JPG with quality indistinguishable from the original to the naked eye.
- Resize Image to 550KB: When the limit is 600KB and you want a safety margin. Some European government portals and academic journals use this range for figure submissions.
- Resize Image to 650KB: Use for high-quality web galleries where 500KB feels too restrictive. A 650KB JPG supports 2000x1300 pixel images with excellent clarity-ideal for photography portfolios viewed on large monitors.
- Resize Image to 700KB: Perfect for design portfolio case studies. At this size, you can upload full-width UI mockups and wireframes that need to show pixel-level detail without hitting 1MB caps.
- Resize Image to 800KB: The upper end of medium-range compression. Use this when a platform says "1MB max" but you know their system rounds aggressively. 800KB gives you a 20% buffer while delivering near-original quality for web use.
- Resize Image to 850KB: Ideal for print-on-demand mockups and e-commerce zoom images. At 850KB, a 2400x1600 pixel image retains enough detail for customers to inspect fabric textures and product details.
- Resize Image to 950KB: When you need to stay strictly under 1MB. Some corporate intranets and secure file sharing platforms (like certain SharePoint configurations) hard-cap at 1MB exactly. Targeting 950KB ensures you clear their validation.
5. Large File Size Tools: 1MB to 10MB
These targets preserve quality. You're no longer fighting for every kilobyte you're optimizing storage and upload speed while keeping images sharp enough for professional use.
When You Need These Targets:
- High-resolution photography: Client galleries, stock photo submissions, and print-ready exports.
- E-commerce product images: Amazon requires main images under 10MB; zoom images benefit from 5MB+ files.
- Medical imaging: Telemedicine platforms often accept 5MB-10MB DICOM conversions and diagnostic photos.
- Real estate photography: MLS systems and property portals typically allow 5MB-10MB per image for high-resolution virtual tour assets.
- Design portfolios: Full-bleed case study images, architectural renders, and print proofs.
- Academic publications: Journal figure submissions frequently specify 1MB-5MB per image at 300 DPI.
- RAW exports: Camera RAW files converted to JPG for client delivery without sacrificing editability.
The Tools and When to Use Them:
- Resize Image to 1MB: The gateway to large-file optimization. A 1MB JPG can hold a 2400x1600 pixel image at quality 85 indistinguishable from the original for web use. This is my default target when clients ask for "web-ready" versions of DSLR photos. It's also the standard for Medium article hero images and Substack cover photos.
- Resize Image to 2MB: Instagram's actual upload limit is roughly 30MB, but their compression is brutal. Uploading at 2MB gives their algorithm better source material than a 10MB file, ironically producing cleaner results. For dating apps (Bumble, Hinge) and HR portals, 2MB is the common ceiling-large enough for clear facial detail, small enough for their servers.
- Resize Image to 3MB: Use this for portfolio thumbnails on sites like Behance and Dribbble. At 3MB, a 3000x2000 pixel image shows craft and detail without the upload failures that come with 10MB+ files. It's also the right target for LinkedIn post images when you want them to look crisp on high-DPI displays.
- Resize Image to 4MB: Government application forms and academic submissions frequently specify 4MB. Indian visa services, UKVI document uploads, and many EU portal applications use this ceiling. At 4MB, you can submit a high-resolution scan or photograph that passes verification without triggering size errors.
- Resize Image to 5MB: The standard for agency brief attachments and creative submissions. When sending mood boards or reference images to clients, 5MB per image strikes the balance between quality and email deliverability. Most corporate email servers accept 5MB attachments without quarantine.
- Resize Image to 6MB: Use this for e-commerce product photography when the platform allows it. A 6MB JPG supports 4000x3000 pixel images-enough for customers to zoom in on stitching, textures, and fine details. Some Shopify themes and WooCommerce configurations perform better with 6MB source images than with 2MB compressed versions.
- Resize Image to 7MB: Ideal for architectural photography and interior design portfolios. At 7MB, a 4500x3000 pixel image preserves the subtle tonal gradations in shadow areas that get crushed at lower compression levels. Print brokers often request 7MB files as their minimum for large-format proofs.
- Resize Image to 8MB: The upper middle range. Use this when a client says "as high quality as possible under 10MB." An 8MB JPG at quality 95 from a 24MP DSLR is essentially a master file for web use indistinguishable from TIFF to anyone except pixel-peepers.
- Resize Image to 9MB: When the hard limit is 10MB and you want insurance against metadata pushing you over. Some cameras embed 500KB-1MB of EXIF data, GPS coordinates, and thumbnail previews. Targeting 9MB leaves room for this metadata while keeping the final file under 10MB.
- Resize Image to 10MB: The ceiling for most e-commerce platforms (Amazon, eBay, Etsy), telemedicine portals, and print services. At 10MB, a 6000x4000 pixel JPG at quality 90 is suitable for 16x20 inch prints at 300 DPI. This is also the target for stock photo submissions to Shutterstock and Adobe Stock.
6. How Targeted Compression Actually Works
Most online compressors use a simple quality slider. You pick 80%, cross your fingers, and check the file size. If it's too big, you try 70%. Too small, you try 75%. This trial-and-error wastes time and rarely lands exactly on target.
Binary search compression works differently. The algorithm:
- Encodes the image at quality 50 and checks the file size.
- If the result is under target, it tries 75; if over, it tries 25.
- It continues halving the interval until it converges on the quality level that produces the largest file under your target.
This typically takes 6-8 iterations and lands within 1% of your target size. The key advantage: it maximizes quality for that specific file size rather than guessing.
When dimensions must shrink too: If a 50MP RAW file (80MB) needs to reach 2MB, quality reduction alone won't work-the math doesn't support it. The tool first calculates the maximum pixel dimensions that could reach the target at minimum acceptable quality, then scales the image and runs binary search compression on the result. This two-stage approach preserves more detail than simply crushing a full-resolution image.
7. Format Strategy: JPG vs PNG vs WebP
The format you choose determines how much visual information survives at your target size.
| Format | Best For | Compression Type | File Size Efficiency | Transparency |
|---|---|---|---|---|
| JPG | Photographs, complex images | Lossy | Good | No |
| PNG | Graphics, text, logos, screenshots | Lossless | Poor for photos, good for graphics | Yes |
| WebP | Modern web use, versatile | Lossy + Lossless | Excellent (25-35% smaller than JPG) | Yes |
| HEIC | iPhone photos, storage | Lossy | Excellent | No |
| AVIF | Next-gen web, maximum compression | Lossy + Lossless | Best (10% better than WebP) | Yes |
JPG is still the safest choice for government portals and legacy systems. It uses chroma subsampling (storing color information at lower resolution than brightness) because human eyes are more sensitive to luminance detail. At quality 85, most people can't distinguish a JPG from a TIFF in blind tests. Below quality 70, block artifacts appear in smooth gradients like skies.
PNG is the wrong choice for photographs at small file sizes. A 500KB PNG photo looks terrible because PNG can't use lossy compression-it would need to be 2MB+ to match a 500KB JPG. But PNG is unbeatable for screenshots, text-heavy images, and graphics with sharp edges. If you're uploading a diagram to a 500KB-limited portal, PNG might actually be your only option.
WebP changes the equation. At the same visual quality, WebP files are 25-35% smaller than JPG. That means a 2MB WebP looks like a 3MB JPG. The catch: not all platforms accept WebP. Government portals almost never do. Social platforms are mixed-Twitter supports it, some job portals don't. Always check your platform's documentation. When in doubt, use JPG-it's the universal fallback.
HEIC (iPhone's default format) stores more efficiently than JPG but converts to JPG on most uploads anyway. If you're starting from HEIC, the tool handles the conversion automatically.
AVIF is the future-10% better compression than WebP but support is still limited to modern browsers and platforms. Use it if your platform accepts it; otherwise, stick with WebP or JPG.
8. What Quality Loss Looks Like at Different Targets
Not all compression is equal. A 12MP smartphone photo and a 24MP DSLR photo behave differently at the same target size because they start with different amounts of detail.
Smartphone Photos (12MP, ~4MB original JPG)
- 2MB: No visible change. Best for social media, general sharing.
- 1MB: Barely perceptible softening at 100% zoom. Best for email, blogs.
- 500KB: Minor softening visible. Best for thumbnails, fast-loading pages.
- 100KB: Noticeable quality reduction. Best for government forms, small avatars.
DSLR Photos (24MP, ~14MB original JPG)
- 10MB: No visible change. Best for client galleries, print-ready.
- 5MB: Minimal softening at 200% zoom. Best for web portfolios, e-commerce.
- 2MB: Moderate compression, fine detail affected. Best for social media, dating apps.
- 500KB: Significant reduction, visible artifacts. Best for thumbnails only.
RAW Camera Files (~35MB original)
- 10MB: Minor softening at 200%+ zoom. Best for professional web use.
- 5MB: Moderate compression, still sharp. Best for client previews, portfolios.
- 2MB: Notable reduction, fine detail lost. Best for social media, quick sharing.
The key insight: Compression quality isn't linear. Dropping from 10MB to 5MB costs almost nothing visually. Dropping from 2MB to 500KB costs significantly more. If your platform accepts 5MB, don't compress to 2MB "just to be safe"-you're throwing away quality for no reason.
9. Metadata, Color Profiles, and Hidden File Size Costs
Every photo from your phone or camera carries invisible baggage. Stripping it reduces file size without touching image quality.
EXIF data includes camera model, lens, GPS coordinates, date/time, and shooting settings. This can add 5KB-50KB per file. For privacy alone, you should strip it before uploading to public platforms. For file size targets under 100KB, that 10KB of metadata is 10% of your budget.
Color profiles (ICC profiles) tell software how to interpret the image's colors. Most web platforms assume sRGB. If your image has an Adobe RGB or ProPhoto RGB profile embedded, it's adding 1KB-5KB and potentially causing color shifts when platforms ignore it. Convert to sRGB and strip the profile for web uploads.
Thumbnail previews embedded in JPGs are miniature copies of the image for file browsers. They add 5KB-20KB. The tool removes these automatically during compression.
Progressive vs. baseline JPG: Progressive JPGs load in multiple passes (blurry to sharp) and are typically 5% larger than baseline JPGs (top-to-bottom loading). For file size targets, baseline is preferred unless you specifically need progressive rendering.
10. Common Mistakes and How to Avoid Them
- Mistake 1: Compressing an already-compressed JPG. Every time you re-encode a JPG, you lose quality. If you downloaded an image from Facebook or Instagram, it's already heavily compressed. Pushing it through another compression cycle introduces "generation loss" where artifacts compound. Always start from the highest-quality original you have.
- Mistake 2: Using PNG for photographs. I've seen users upload 15MB PNG photos to 2MB-limited forms, then wonder why the compression fails. PNG can't compress photos efficiently. Convert to JPG first, then target your file size.
- Mistake 3: Ignoring dimension requirements. A government form asks for "200x230 pixels, 20KB-50KB." If you upload a 4000x3000 pixel image compressed to 50KB, it will look like mush because the compression ratio is extreme. Resize to 200x230 first, then compress. The tool handles this automatically when you specify both constraints.
- Mistake 4: Targeting the exact limit. If the limit is 5MB, target 4.8MB. Some upload systems calculate size differently than your OS (binary MB vs. decimal MB). A 5.0MB file on your computer might read as 5.2MB on their server. Give yourself a 5% buffer.
- Mistake 5: Forgetting to check the output format. The tool defaults to your input format, but switching to WebP might get you better quality at the same file size. Always preview both options if the platform accepts WebP.
11. Platform-Specific Reference Table
| Platform | File Size Limit | Accepted Formats | Recommended Target |
|---|---|---|---|
| Indian Government Portals (PAN, Passport, Aadhaar) | 20KB-50KB | JPG | 50KB tool |
| UK Visa (UKVI) | 50KB-600KB | JPG, PNG | 500KB tool |
| US DS-160 Visa | 240KB | JPG | 200KB tool |
| LinkedIn Posts | 8MB | JPG, PNG, GIF | 5MB tool |
| ~30MB (but compresses heavily) | JPG, PNG | 2MB tool | |
| Amazon Product Images | 10MB | JPG, PNG, TIFF, GIF | 8MB tool |
| Etsy Listings | 20MB | JPG, PNG, GIF | 5MB tool |
| WordPress | Varies by host | All common formats | 500KB tool |
| Behance | No hard limit | JPG, PNG | 3MB tool |
| Telemedicine Portals | 5MB-10MB | JPG, PNG | 5MB tool |
12. Frequently Asked Questions
Can I hit an exact file size, not just "under" the limit?
Yes. The tool uses iterative binary search to converge on your target within a few kilobytes. If you specify 5MB, the output will typically be 4,995KB-5,000KB. For government portals with strict validation, this precision prevents upload rejections.
Does reducing file size always change image dimensions?
No. For most targets, the tool adjusts compression quality and strips metadata while preserving original pixel dimensions. Dimension reduction only triggers when the math doesn't work-typically for originals over 30MB targeting under 2MB, where even maximum compression can't reach the target at full resolution.
What's the smallest file size I can target?
50KB is the practical minimum for recognizable photographs. Below that, you're in icon territory. The tool supports targets as low as 2KB, but at that level, expect significant blockiness and color banding. Use 2KB-10KB targets only when a system explicitly requires them.
Why does my 5MB JPG look worse than my friend's 5MB WebP?
WebP uses more efficient entropy coding and better prediction algorithms than JPG. At the same file size, WebP typically preserves 25-35% more visual information. If your platform accepts WebP, use it. If not, the tool's JPG engine uses MozJPEG optimization to close the gap as much as possible.
Will compressing a JPG multiple times keep reducing the file size?
Yes, but each re-encode degrades quality. This is called "generation loss." Professional photographers keep RAW masters and generate JPGs from them once. If you need multiple sizes, generate them all from the original, not from each other.
Should I remove EXIF data before uploading?
Yes, for three reasons: privacy (GPS coordinates in photos), file size (5KB-50KB savings), and compatibility (some portals reject images with unusual metadata). The tool strips EXIF automatically during compression.
What's the difference between DPI and file size?
DPI (dots per inch) is metadata-it tells printers how large to print the image. It doesn't change the file size or pixel dimensions. A 3000x2000 pixel image is 3000x2000 pixels whether it's tagged as 72 DPI or 300 DPI. File size depends on pixels and compression, not DPI.
Why do some platforms reject my perfectly-sized file?
Three common causes: (1) Their server counts bytes differently (binary MB = 1,048,576 bytes; decimal MB = 1,000,000 bytes), so your 5.0MB file might be 5.24MB to them. (2) They include metadata in their calculation while your tool doesn't. (3) Their validation script has bugs. Target 5% under the limit to avoid these issues.
Is WebP accepted everywhere now?
No. Government portals, legacy CMS systems, and some social platforms still reject WebP. Browser support is 95%+, but upload acceptance lags behind. Check your platform's documentation. When in doubt, use JPG-it's the universal fallback.
Can I compress images on my phone?
Yes. The tool works in mobile browsers without app installation. Upload from your camera roll, set the target, and download the compressed file. For iPhone HEIC files, the tool converts to your chosen output format automatically.
What's better: one 10MB image or ten 1MB images?
For web performance, ten 1MB images load faster than one 10MB image because browsers download resources in parallel. For print, one 10MB image at 300 DPI is better than ten 1MB images. Match your target to your delivery medium.
Why does my PNG screenshot compress so poorly?
PNG uses lossless compression. It can't discard visual information like JPG can. Screenshots with gradients and photos will be huge as PNGs. Convert to JPG or WebP first, then compress to your target. Only keep PNG for images with text, sharp edges, or transparency needs.
13. Quick Decision Guide
| If you need it for... | Use this target | Recommended tool |
|---|---|---|
| Government forms (India, UK, US visa) | 20KB-50KB | 50KB tool |
| Email signatures | ~100KB | 100KB tool |
| Blog/CMS uploads | 200KB-500KB | 500KB tool |
| Social media | 1MB-2MB | 2MB tool |
| E-commerce main images | 2MB-5MB | 5MB tool |
| E-commerce zoom images | 5MB-10MB | 8MB tool |
| Print-ready exports | 5MB-10MB | 10MB tool |
| Portfolio galleries | 2MB-5MB | 3MB tool |
| Client photo delivery | 5MB-10MB | 10MB tool |
| Academic submissions | 300KB-4MB | 500KB or 4MB tool |
Unsure of the limit? Target 80% of the stated maximum to avoid edge-case rejections.
Final Notes
File size targeting is a craft, not a guessing game. The difference between a rejected upload and a smooth submission often comes down to understanding whether your platform cares about bytes, pixels, or both.
Start with the highest quality original you have. Pick the right format for your content type. Choose a target that maximizes quality while respecting the limit. And always preview before submitting-compression artifacts are easier to fix before upload than after rejection.
Every tool linked in this guide uses the same binary search engine, so you get consistent results whether you're targeting 20KB or 10MB. The only variable is your starting image and your platform's requirements-both of which you now know how to evaluate.