English
Is It Better to Convert to JPEG Then Resize, or Resize WebP Directly?
Quick Answer
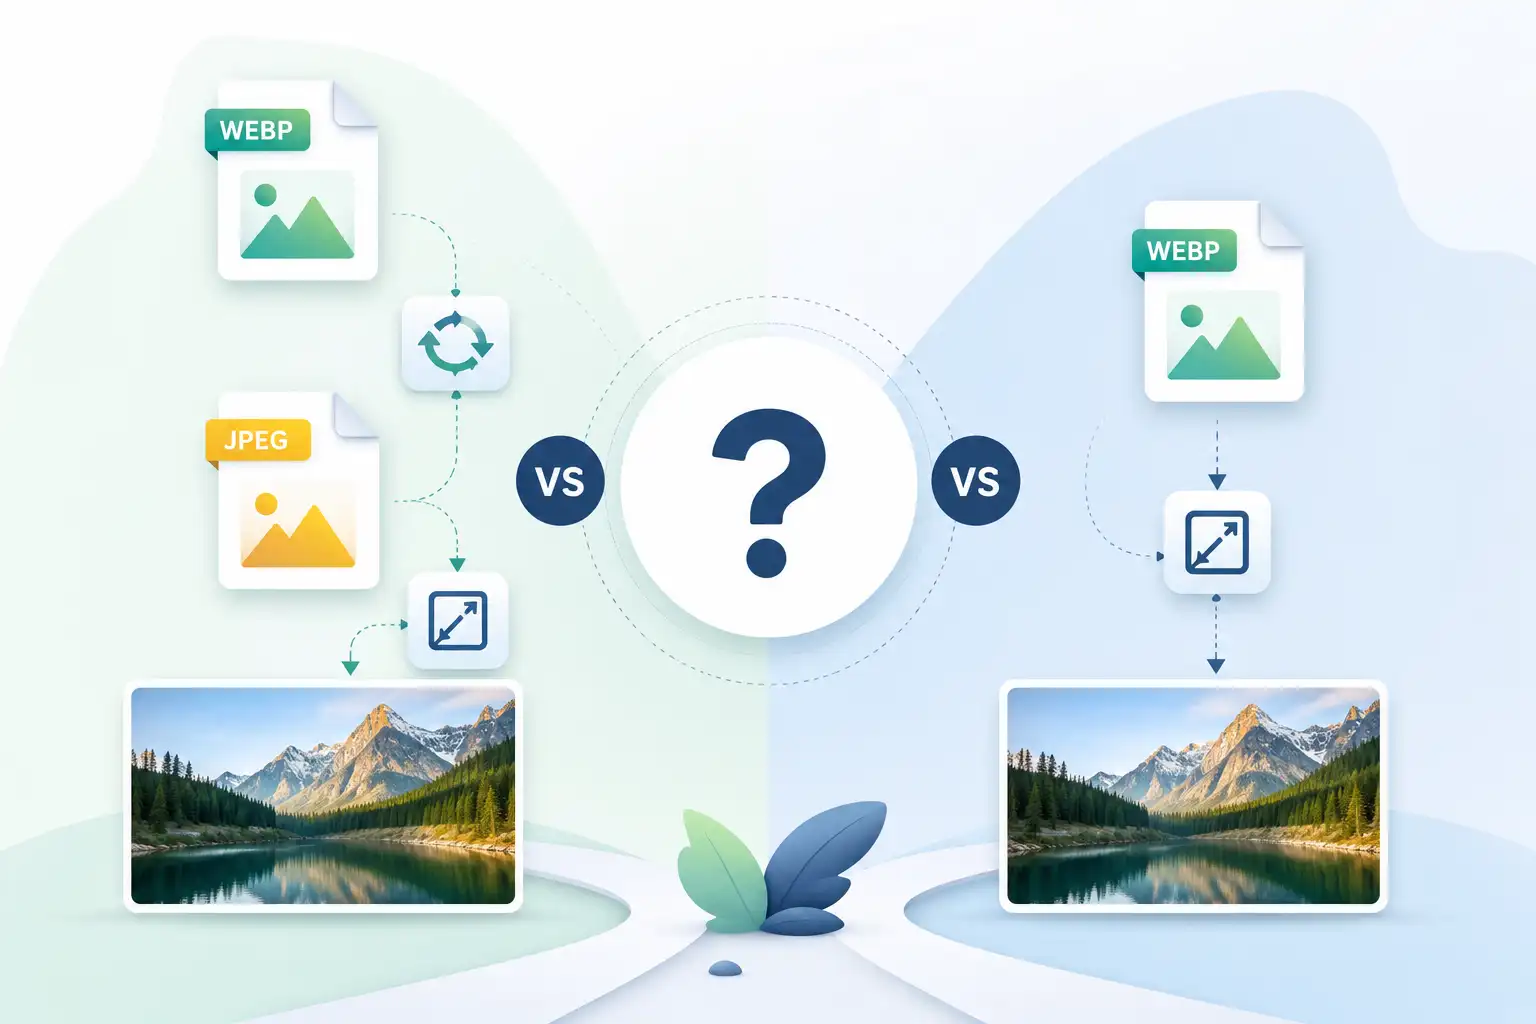
Resize the WebP directly. Converting a WebP image to JPEG before resizing adds an unnecessary lossy transcoding pass, which means your image gets compressed twice instead of once — first when the original WebP was encoded, then again when you re-encode it as JPEG. Each lossy round-trip discards more data through re-quantization, a phenomenon known as generation loss. Unless a specific tool, CMS, or downstream system genuinely cannot accept WebP, keep the file in WebP for the entire resize pipeline and only convert format at the very end, if at all. The only time converting to JPEG first makes sense is when your resizing tool has no WebP decoder, or the final destination strictly requires a .jpg file.
If you take away nothing else: minimize the number of lossy encode/decode cycles, not the number of format labels. That single principle resolves almost every version of this question.
Why This Question Keeps Coming Up
If you've ever set up an image pipeline for a WordPress site, an e-commerce catalog, or a mobile app's CDN, you've probably hit this exact fork in the road. Your CMS exports images as WebP by default (many now do), but your resizing script, a plugin, or a legacy image-processing library was written with JPEG in mind. So the tempting shortcut is: convert to JPEG first, since "everything supports JPEG," then resize, then maybe convert back to WebP for delivery.
It feels safe. It's also usually the wrong move, and the reason isn't obvious unless you understand what's actually happening at the codec level during each conversion — not just at the file-extension level.
This article walks through the technical mechanics of both formats, quantifies what you lose at each step, and gives you a decision framework for the handful of situations where converting to JPEG first is genuinely the right call.
The Core Technical Difference: What "Resizing" Actually Touches
Resizing and re-encoding are two separate operations that most people mentally bundle into one:
- Decoding — the compressed file (WebP or JPEG) is unpacked into raw pixel data.
- Resampling — the pixel grid is recalculated at new dimensions using an interpolation algorithm (bilinear, bicubic, or Lanczos are the common choices; libvips, for example, defaults to a Lanczos3 kernel for its vips_reduce() shrink operation, according to the libvips image-shrinking documentation).
- Re-encoding — the resampled pixels are compressed back into a file format.
Resampling itself (step 2) is lossy for image quality only in the sense that you're throwing away spatial detail — that part is unavoidable no matter what format you use. The part you can control is step 3: how many times you run a lossy re-encode, because each lossy encode pass introduces its own compression artifacts on top of whatever was already baked into the source.
Where "Convert to JPEG, Then Resize" Adds a Hidden Cost
Here's the sequence when you convert WebP → JPEG → resize:
| Step | What Happens | Quality Impact |
|---|---|---|
| 1. Decode source WebP | Original lossy artifacts (from VP8 predictive coding) are unpacked | Baseline quality of the source |
| 2. Encode as JPEG | New DCT-based 8×8 block quantization is applied on top of the already-decoded pixels | First additional generation loss |
| 3. Decode JPEG | Unpack the newly introduced JPEG artifacts | No new loss, but now carrying two codecs' worth of artifacts |
| 4. Resample to new dimensions | Spatial detail reduced | Expected, unavoidable loss |
| 5. Re-encode (JPEG or WebP again) | Another quantization pass | Second additional generation loss, or third if you convert back to WebP |
Compare that to resizing the WebP directly:
| Step | What Happens | Quality Impact |
|---|---|---|
| 1. Decode source WebP | Unpack original artifacts | Baseline quality |
| 2. Resample to new dimensions | Spatial detail reduced | Expected, unavoidable loss |
| 3. Re-encode as WebP | One quantization pass | Only one additional generation loss |
The direct-resize path has one fewer lossy encode/decode round-trip. That's the entire technical argument, and it holds regardless of which specific tool you use.
Why this matters more than people expect: Community testing on the WebP mailing list has shown that re-encoding an already-lossy JPEG source into WebP at high quality settings can sometimes increase file size rather than reduce it, because the encoder has to work around 8×8 block-boundary ringing artifacts already present in the source. see this. The same logic applies in reverse: transcoding a WebP into JPEG and back reintroduces artifacts the original encoder never had to deal with.
How Each Codec Actually Compresses Pixels
Understanding why extra transcodes hurt requires knowing what each format discards. JPEG splits the image into 8×8 pixel blocks, converts from RGB to a luma/chroma (YCbCr) color model, and applies a discrete cosine transform (DCT) to each block, discarding high-frequency detail the human eye is less sensitive to. This block-based approach is what produces the blocky halo artifacts you see around text and sharp edges when quality is pushed too low.
WebP's lossy mode is built on VP8 predictive coding rather than isolated block transforms. The encoder predicts each macroblock's content based on neighboring blocks already processed, then encodes only the difference between the prediction and the actual pixels — a technique borrowed directly from video compression. According to Google's WebP compression documentation, this block-prediction approach, combined with adaptive quantization and better entropy coding, is what lets lossy WebP typically match JPEG's visual quality at meaningfully smaller file sizes. MDN's image format guide puts the average savings at 25–35% smaller than JPEG at visually comparable quality, and notes that lossless WebP runs roughly 26% smaller than the same image saved as PNG.
WebP's lossless mode works completely differently — it uses substitution-based techniques (similar in spirit to what PNG does with DEFLATE, but with WebP's own, more modern approach) and preserves every pixel exactly. There is no generation loss risk here at all, which is why lossless WebP is the safest intermediate format if you're doing multiple rounds of editing before final delivery.
Benchmark-Style Comparison Table
| Factor | Resize WebP Directly | Convert to JPEG → Resize |
|---|---|---|
| Lossy encode/decode cycles | 1 | 2 (or 3 if converting back to WebP) |
| Transparency preserved | Yes, if source has alpha | No — JPEG has no alpha channel support |
| Typical output file size | Smaller (WebP averages 25–35% smaller than JPEG per MDN) | Larger, and grows further after re-encoding to WebP a second time |
| Tooling / library support | Excellent in modern tools (libvips, ImageMagick 7+, Sharp, browser Canvas API) | Universal, including very old or legacy software |
| Browser compatibility | Broad — WebP is supported in all major current browsers per MDN | Universal, including ancient browsers and email clients |
| Risk of visible new artifacts | Low (one quantization pass) | Higher, especially at low-to-mid quality settings on the intermediate JPEG |
| Best for | Web delivery, responsive srcset pipelines, CDN thumbnailing | One-off exports to systems that flatly reject WebP |
Real-World Scenarios
- E-commerce product thumbnails: A catalog with thousands of WebP product photos needs 5 responsive sizes per image for a srcset. Resizing each WebP directly and re-encoding once per size avoids introducing 5,000+ unnecessary extra lossy passes across the catalog. Converting to JPEG first would mean every single thumbnail carries two rounds of quantization instead of one, and you'd lose transparency on any product shots using a transparent background.
- WordPress media pipelines: Most WordPress WebP plugins (and Core's own image sub-size generation since WebP became a supported default) decode the uploaded image and generate multiple resized copies. If your uploads are already WebP, forcing an intermediate JPEG conversion step adds processing time and file-size regression for no benefit, unless a specific plugin or theme genuinely requires JPEG.
- Print workflows: This is the clearest case for JPEG-first conversion. Many print vendors' upload systems don't accept WebP at all. Here, you decode the WebP once, resize to the vendor's required dimensions, and encode directly to JPEG — a single lossy pass, not convert-then-resize-then-reconvert.
- Email marketing images: Roughly 15% of email clients don't reliably render WebP.If email is your only delivery channel for a given asset, converting once — after resizing, not before — to JPEG is the correct order of operations.
- Mobile app asset pipelines: iOS and Android both handle WebP natively today, so app teams building CDN-served imagery generally keep WebP end-to-end and only fall back to PNG or JPEG for legacy device support tiers.
Decision Framework
Use this to decide your pipeline order:
- Does your final delivery target actually require JPEG (not just "can accept" JPEG)?
- No → Resize the WebP directly. Stay in WebP for the entire pipeline. This is the right default for essentially all modern web and app delivery.
- Yes → Continue below.
- Do you need to resize to multiple output sizes, or just one?
- Multiple sizes → Decode the WebP once, resize to each target dimension from that single decode, and encode each resized version to JPEG once. Never re-decode an already-converted JPEG to produce additional sizes — always branch from the original decode.
- One size → Decode → resize → encode to JPEG, in that order. Resize before the lossy encode, never after.
- Does the source image contain transparency you need to preserve?
- Yes → JPEG is disqualified regardless of order, since it has no alpha channel. Stay in WebP or fall back to PNG.
- No → Either format is technically viable; use the framework above to pick the order.
Quick Reference
When to Avoid Converting to JPEG at All
- The image will only ever be displayed in a modern browser or app.
- The image has transparency.
- You'll need multiple resized variants from the same source (each extra JPEG round-trip compounds artifacts).
- File size matters for page-speed metrics like Largest Contentful Paint — WebP's smaller footprint at equivalent visual quality, as documented by web.dev's image performance guide, directly helps here.
When Converting to JPEG First Is Acceptable
- A specific downstream system (print vendor, legacy CMS, some email clients) cannot decode WebP at all.
- You are archiving for maximum compatibility over image efficiency.
- Your resizing toolchain literally has no WebP codec available and you cannot install one (rare today, since libvips, ImageMagick, and Sharp all support WebP natively).
Common Mistakes
- Resizing an already-resized JPEG a second time "just to be safe." Every additional lossy encode compounds artifacts even if the pixel dimensions don't change on that pass.
- Assuming WebP-to-JPEG-to-WebP round-trips are "basically fine" because the file still opens. The file opens fine; the pixel data has been quantized twice, and skin tones, gradients, and fine text are where this becomes visible first.
- Using the same quality number across formats and assuming equivalent output. Quality settings are not calibrated identically between codecs. A WebP quality of 80 in one encoder is not guaranteed to match a JPEG quality of 80, or a WebP quality of 80 in a different encoder — always visually verify at the actual quality setting you use, a point echoed in the LessMB image compression settings guide.
- Batch-converting an entire media library to JPEG "for compatibility" without checking whether any images actually need it. This throws away WebP's size and transparency advantages site-wide for a compatibility problem that, for most modern audiences, doesn't exist.
- Not resizing before the final lossy encode. If you must land on JPEG, resize the pixel data first, then run the JPEG encoder exactly once on the final dimensions — don't encode-resize-encode.
Performance and Tooling Notes
If you're building this into an automated pipeline rather than doing one-off conversions, tool choice affects both speed and how many lossy passes you accidentally introduce.
libvips uses a demand-driven, streaming pipeline architecture — it pulls small tiles of pixel data through a graph of operations rather than materializing a full decoded image in memory at every stage. Its access: sequential mode allows load, resize, and save to run in parallel, and its shrink-on-load behavior can skip decoding pixel detail you're about to discard anyway, according to the libvips image-shrinking wiki. This makes it well suited to high-volume resize pipelines where you want to go straight from a WebP source to a resized WebP output without unnecessary intermediate steps.
ImageMagick is more feature-complete for oddball formats and delegate-based conversions, but tends to materialize the full decoded image in memory at each pipeline stage, which increases peak RAM usage on large batch jobs.
Either tool can do a direct WebP-to-resized-WebP operation in a single command, which is the point: there's no tooling limitation forcing you through JPEG in 2026. If your current pipeline routes through JPEG, it's very likely a historical artifact of when WebP tooling was less mature, not a current technical requirement.
Frequently Asked Questions
Does resizing itself ever cause "generation loss," separate from re-encoding?
No. Resampling pixel data (the resize step) discards spatial detail according to the interpolation algorithm used, but it doesn't introduce compression artifacts on its own. Generation loss specifically comes from repeated lossy encoding passes, not from resizing.Is lossless WebP a safe intermediate format for multi-step editing?
Yes. Since lossless WebP preserves every pixel exactly, you can decode, resize, and re-encode as lossless WebP repeatedly without any generation loss, then apply your one lossy encode only at final export.Will converting WebP to PNG before resizing avoid the generation loss problem?
Yes, if your source WebP was itself lossless. If the source WebP was lossy, the artifacts are already baked into the pixel data — converting to a lossless intermediate format like PNG won't remove them, it just prevents further loss during the resize step.Does image dimension (upscaling vs. downscaling) change which format order is better?
No — the format-order logic (minimize lossy re-encode passes) applies the same way whether you're upscaling or downscaling. What does change is the interpolation algorithm choice: downscaling generally benefits from algorithms like Lanczos or area-averaging, while upscaling has different trade-offs entirely and is a separate topic from format order.Is there a visible quality difference at high quality settings (90+) between the two approaches?
The difference shrinks as quality settings increase, but doesn't disappear, and file size costs remain. At very high quality settings, WebP encoders can actually struggle to beat JPEG's efficiency on some source material, per discussion in the WebP transcoding thread — but you'd still be avoiding an extra generation-loss cycle by skipping the JPEG intermediate.Does this apply the same way to lossless-to-lossless conversions?
The generation-loss argument specifically concerns lossy re-encoding. A lossless WebP resized and re-encoded as lossless WebP introduces no compounding artifacts either way, so the order-of-operations concern mostly disappears — though file size and feature support (transparency, etc.) still favor staying in WebP.Why would anyone still convert to JPEG first if WebP is better in most cases?
Legacy tooling, specific vendor requirements (print especially), or email delivery constraints. It's a compatibility decision, not a quality decision — JPEG-first is never chosen because it produces better image quality.Does browser support still justify avoiding WebP for web delivery in 2026?
Generally no. Current major browsers all support WebP; the main historical gap was older Safari versions on macOS, which is largely no longer a practical constraint for new projects, per MDN's browser support notes.Should I strip metadata before or after resizing?
Metadata stripping is independent of the resize order question, but doing it as part of your final encode step (rather than as a separate pass) avoids an unnecessary extra file write and keeps your pipeline to the minimum number of lossy encode passes.What quality setting should I use for the final WebP encode after resizing?
There's no universal number — it depends on image content and your tolerance for file size versus visual fidelity. A commonly cited practical starting range for photographic content is roughly 70–82 for WebP, per the LessMB compression settings guide, but you should visually verify output at your image's actual display size rather than trusting a single fixed number across all content types.Does resizing WebP directly work in browser-based tools, or only server-side?
Both. Browser-based canvas tools can decode and re-encode WebP client-side without a server round-trip, and server-side libraries like libvips, Sharp, and ImageMagick 7+ all support direct WebP-to-WebP resize operations.
Conclusion
The technical case for resizing WebP directly, rather than converting to JPEG first, comes down to a single mechanism: every lossy encode pass compounds artifacts, and converting formats mid-pipeline adds passes you don't need. For nearly all modern web, app, and CDN delivery scenarios, staying in WebP end-to-end gives you smaller files, preserved transparency, and one fewer generation-loss cycle than routing through JPEG.
The exception is narrow but real: if your final destination — a print vendor, a legacy CMS, certain email clients — genuinely cannot accept WebP, convert to JPEG after resizing, not before, and do it in a single pass. Route every output size from one original decode rather than re-encoding an already-converted JPEG multiple times.
If you're unsure which category your project falls into, default to keeping images in WebP throughout your pipeline and only convert at the final export step, for the specific outputs that actually require it.
Also Read: